Jewish Quarter in Krakow

I’ve been working on a 40x50cm oil painting of Krakow, Poland the past couple weeks. At first I wanted to do a demo video, but I soon realized that it would be too long and not as effective as process digitals at key points in construction. For this painting I’ve opted to use a multiple layer underpainting with a heavily altered palette.rn
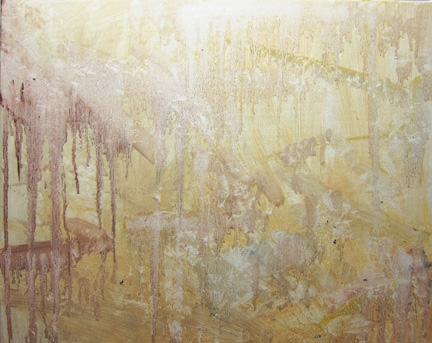


Oil painting demo of the Jewish Quarter in Krakow, Poland by Bryan Whitehead
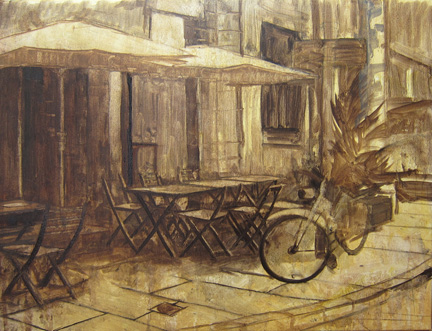
Rough warm underpainting using: Cad Yellow, Burnt Umber, Cad Orange, Cad Red, and Naples Yellow.rn
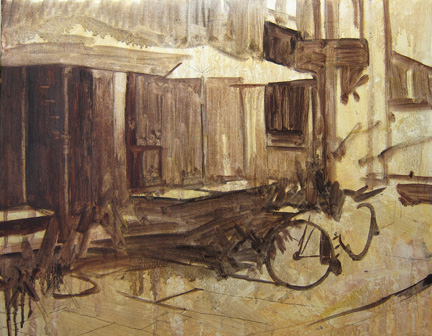
Oil painting demo of the Jewish Quarter in Krakow, Poland by Bryan Whitehead
Roughing in Forms with Burnt Umberrn
Oil painting demo of the Jewish Quarter in Krakow, Poland by Bryan Whitehead
More forms in and subtracting paint from halftones with thinner on brush and paper towel.rn
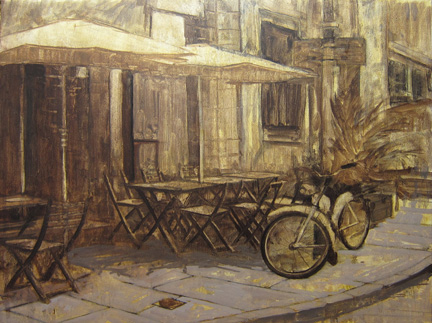
Oil painting demo of the Jewish Quarter in Krakow, Poland by Bryan Whitehead
With very thin paint building some overlaying color. I washed and dribbled thinner on this and that during this process to created a deep and interesting underpainting.rn
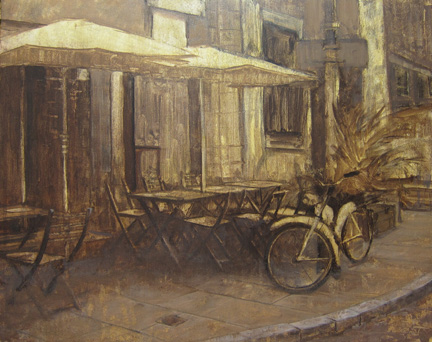
Oil painting demo of the Jewish Quarter in Krakow, Poland by Bryan Whitehead
Some more washing in of color. Notice I lost some of the chair and shadow forms – I’ll clean this up later. I did it this way as I had to get the chair forms in to be able to build correct values in and out of the major forms.rn
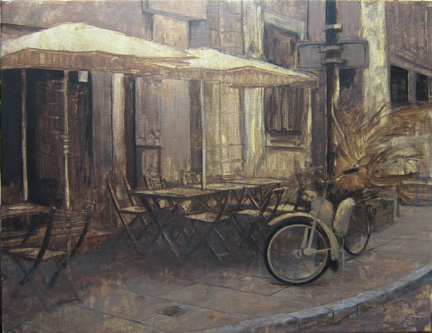
Oil painting demo of the Jewish Quarter in Krakow, Poland by Bryan Whitehead
Added a mid value color and starting to build some details. With the overall painting I want to have details in the bike, street sign, plant, a couple chairs, table top, umbrella, and a couple cracks on the ground. rn
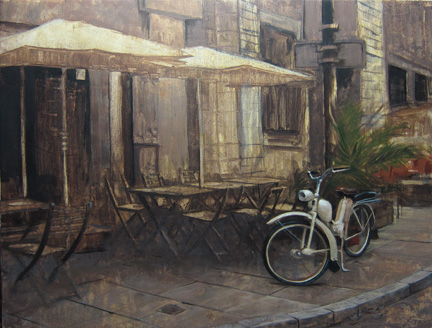
Oil painting demo of the Jewish Quarter in Krakow, Poland by Maine Artist Bryan Whitehead
Some slight color in the plant forms, chairs in background area, and strong bike details done.rnrnStay tuned for the next half over the next couple weeks.


Combined post: (second part below)


It took another couple days of solid work, but I’ve finished this Polish urban scene I’ve been wanting to get out ever since visiting Cracow in September of 2010. On this trip in 2010 we decided to check out the old Jewish quarter (Kazimierz) and visit some the the Synagogues, Cemeteries, and old town areas. Kazimierz is located on the south side of Crakow and its Jewish roots go back to the 13th century. After WWII the area was left unkempt, but in the past 25 years or so there has been a solid movement to revive the religion, culture, and architecture. This painting is my experience from that trip. The last digital below can be clicked to expand for better detail.rn
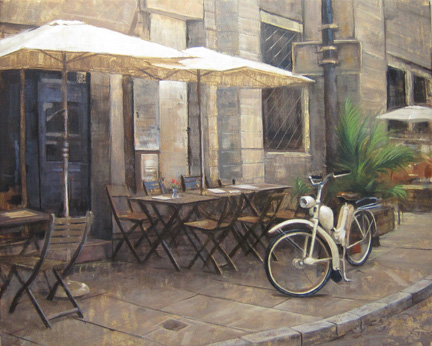
Oil painting demo of the Jewish Quarter in Krakow, Poland by Bryan Whitehead
Major forms get their final paint, details decided on and painted, small corrections done to help composition
rn
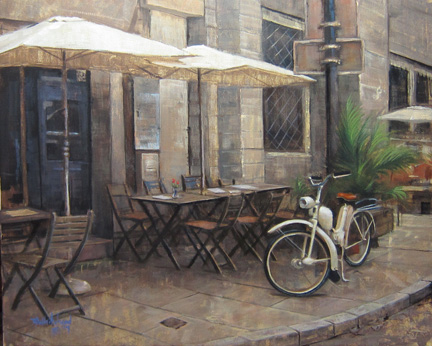
Oil painting demo of the Jewish Quarter in Krakow, Poland by Bryan Whitehead
The painting is finished here; its 40x50cm and is titled, Cafe in the Jewish Quarter of Krakow (2014). It is for sale at the Argosy Gallery in Bar Harbor Maine.
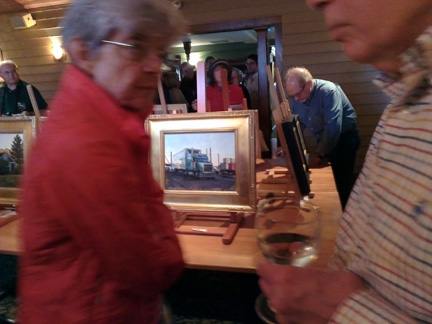
Galyn’s Father’s Day Art Show

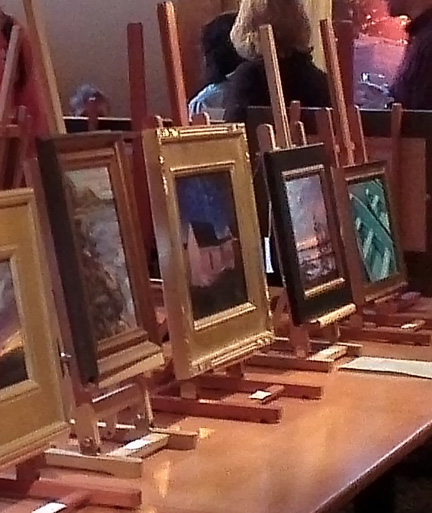
Galyn’s Father’s Day Art Show went well. Unfortunately I was unable to go this year, but I do have a couple of pictures from it that I will share. Galyn’s Restaurant has a fine collection of art on display (one of the largest public collections in Maine) in the restaurant and I’ve got a couple of pieces in the collection. Its located in Bar Harbor and has a nice Maine Menu. Below are a couple of my paintings from the show; the Lobster Truck is not available, but the Evening Monhegan painting is available over at the Argosy Gallery now.


Trip to Norway for Holmenkollen Ski Jump

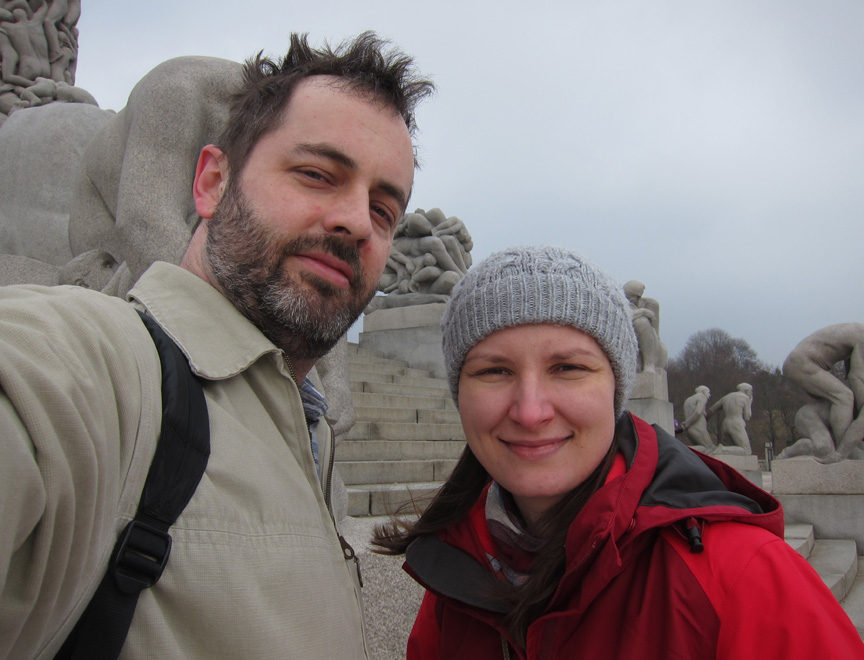
Back in March my wife and I went to Norway for the weekend to check out the ski jumping competition and to visit some friends in Oslo. We found some extremely affordable tickets on Ryanair and Justyna’s parents stayed with our son, Wiktor, in Warsaw. Oslo is a charming little city with superb public transportation which easily moved us around between destinations. The Park Inn room was nice and we got good value out of the buffet breakfast.

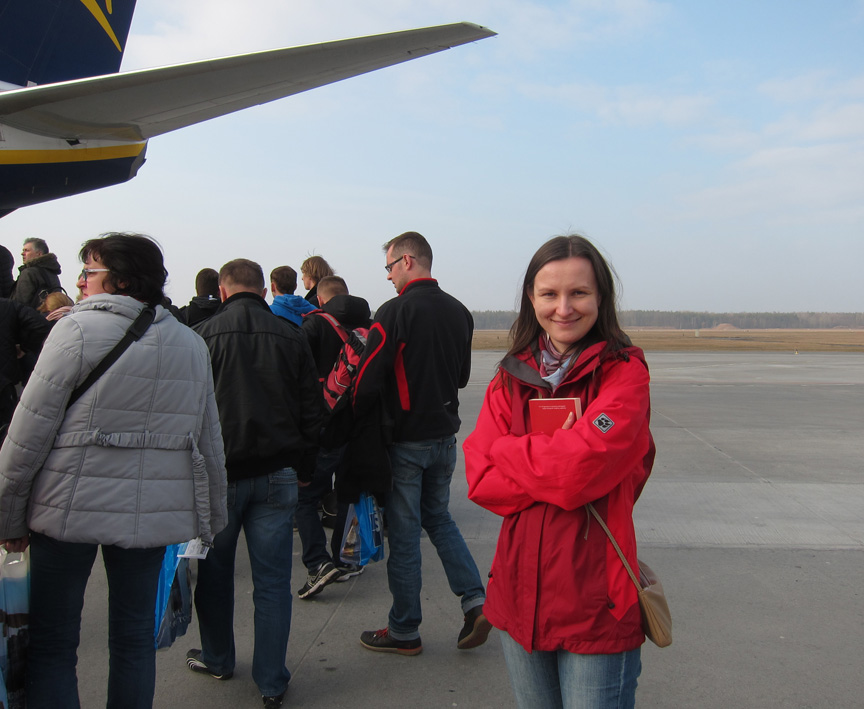
boarding ryanair plane Justyna WhiteheadBoarding Ryanair flight out of Warsawrn
Justyna and Bryan Whitehead goofing around in NorwayThe Vigelandsparken Sculpture Parkrn
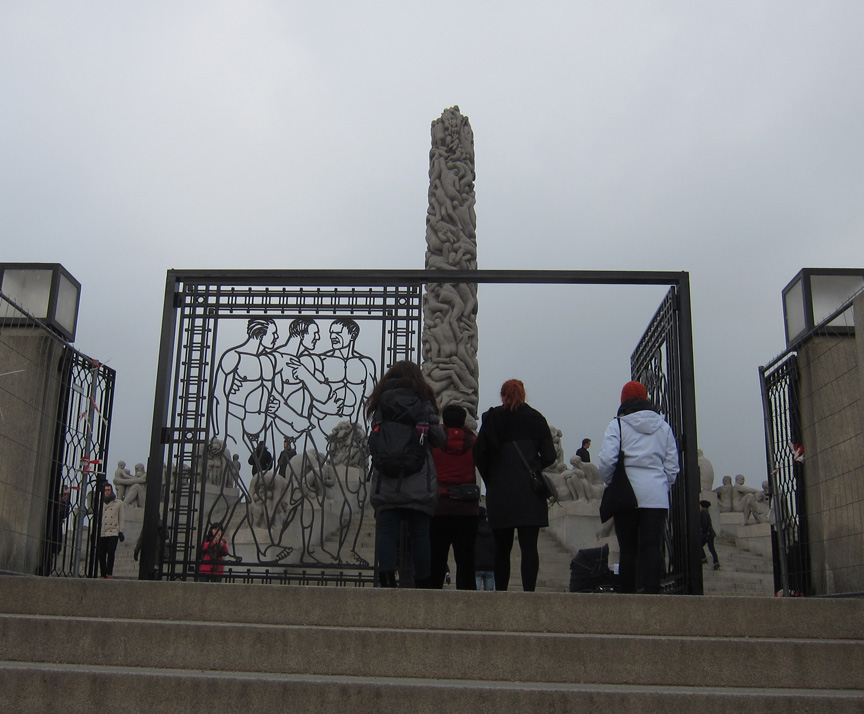
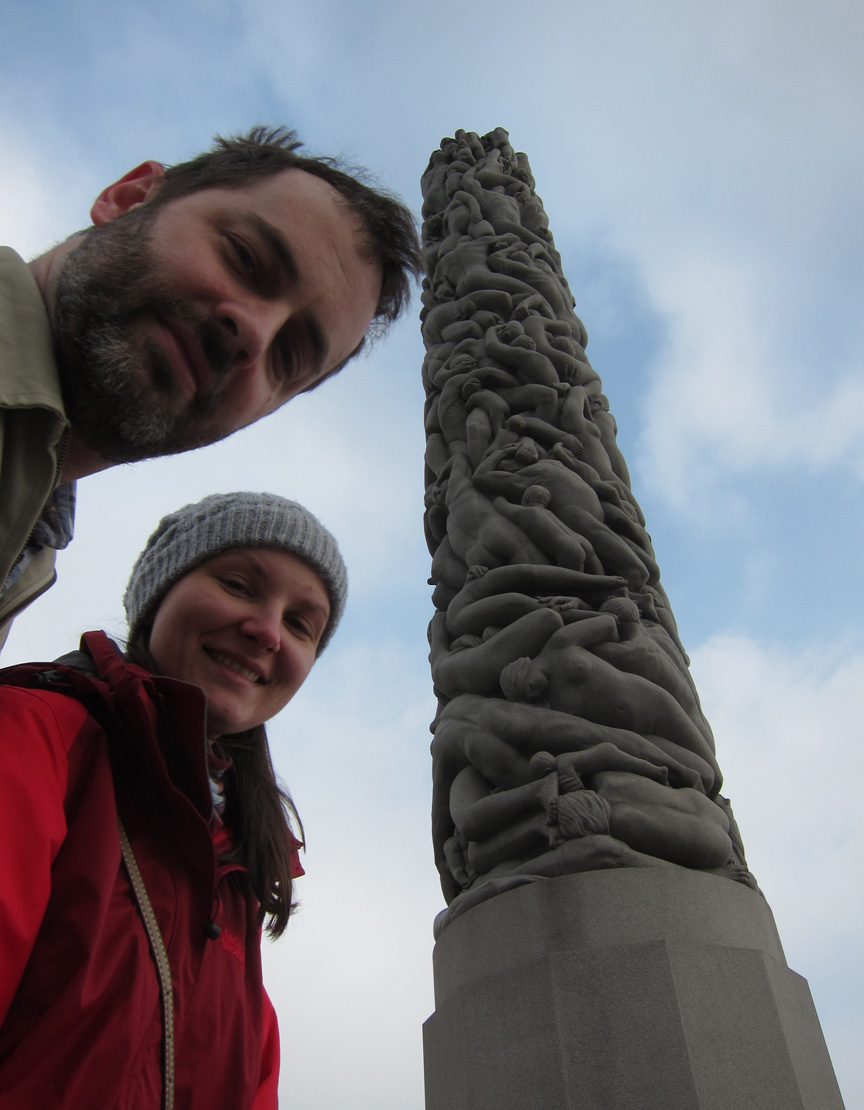
The Vigelandsparken Sculpture Park Gatern
Justyna and Bryan Whitehead at the Vigelandsparken Sculpture Parkrn
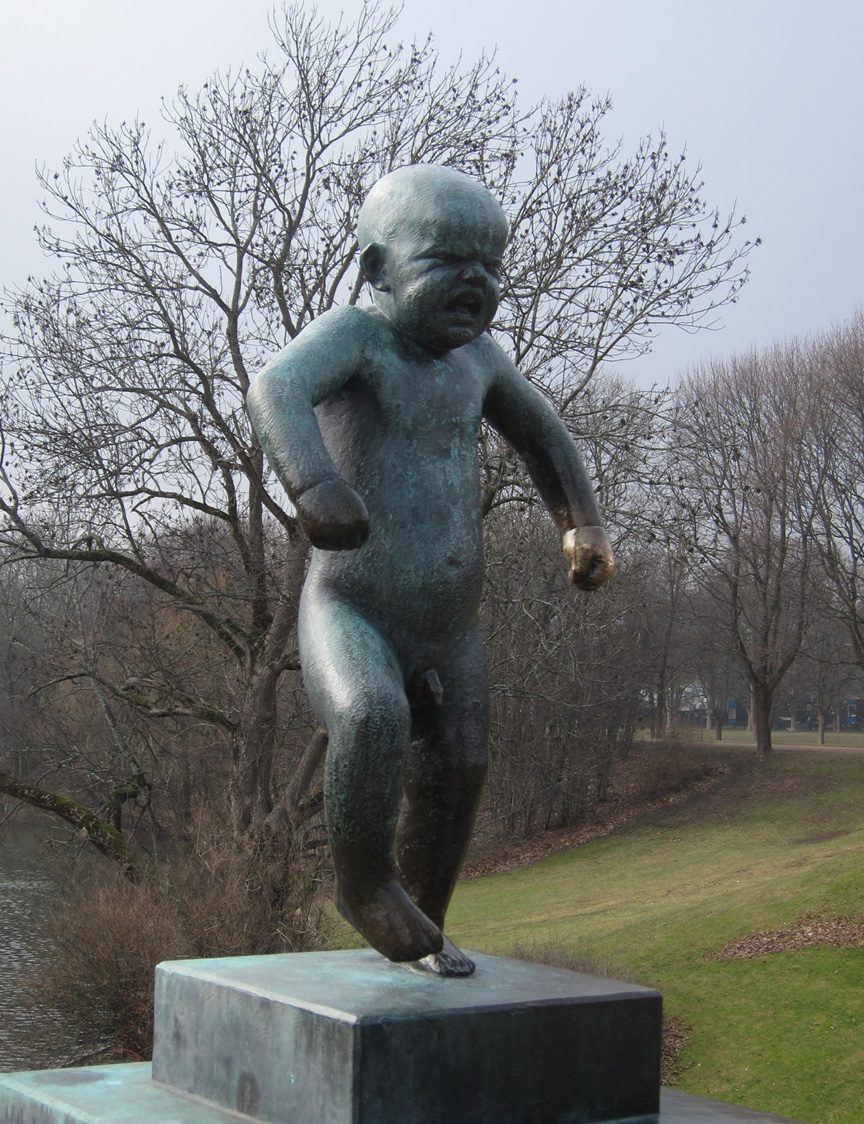
popular statue at the Vigelandsparken Sculpture Parkrn
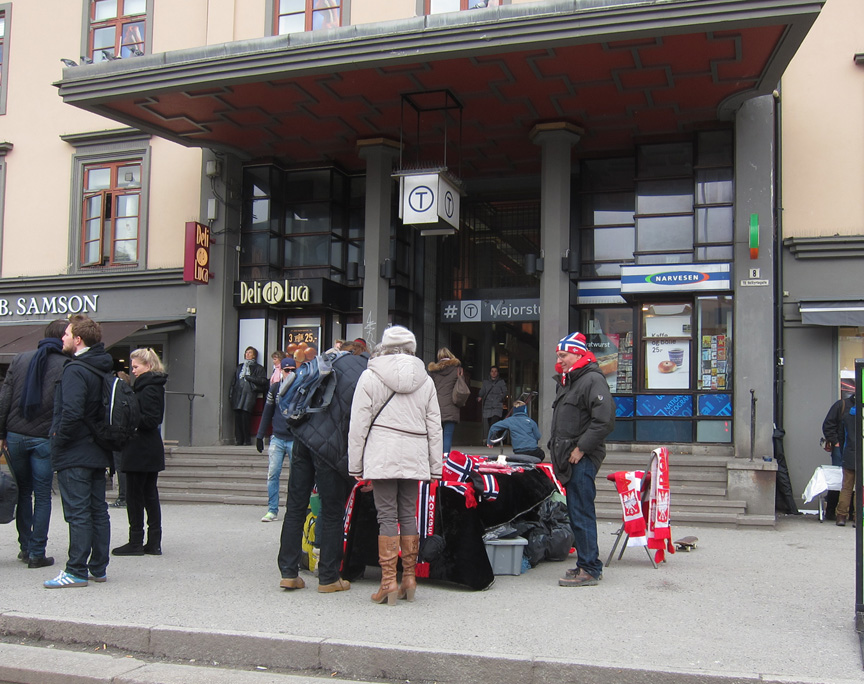
Street vendor in Norway selling Norwegian and Polish garbStreet vendor in Norway selling Norwegian and Polish thingsrn
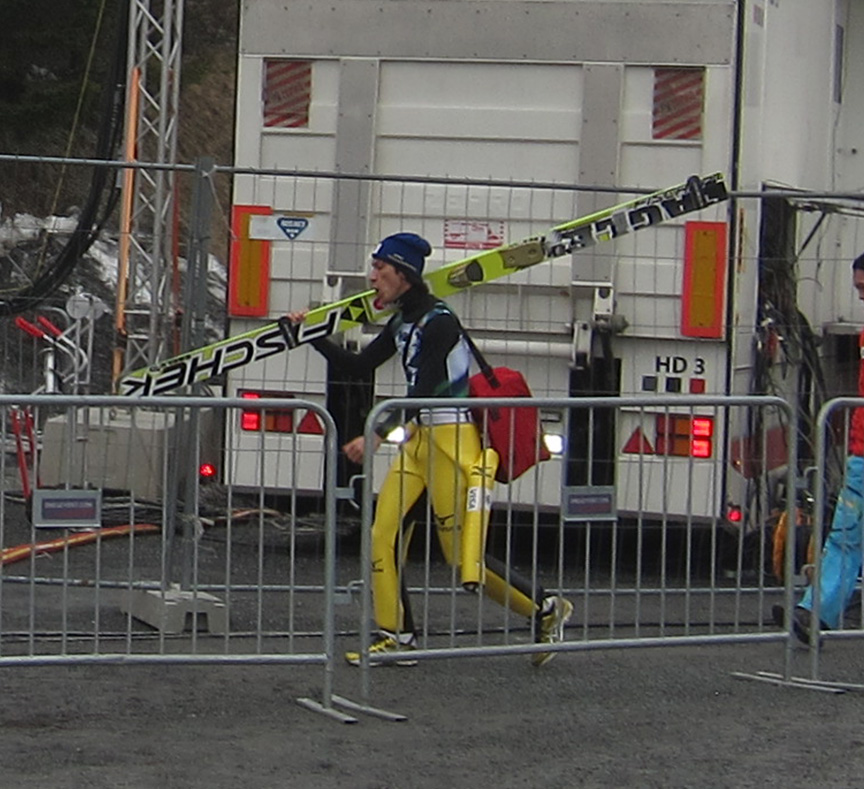
Noriaki Kasai; olympic silver medalistNoriaki Kasai; olympic silver medalist. Not pictured: Kamil Stoch and Peter Prevc.rn
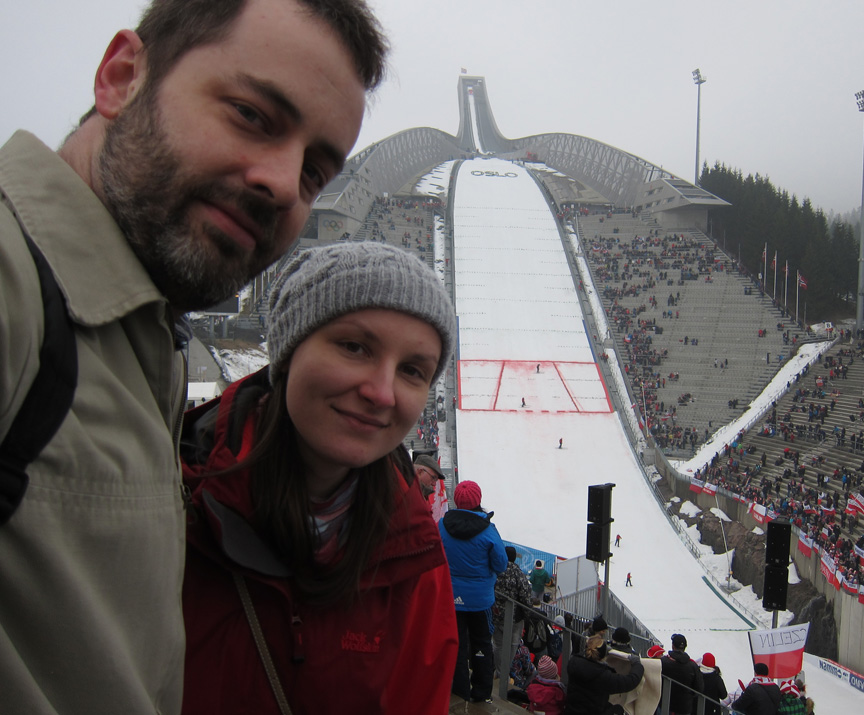
Holmenkollen Ski Jump

Guide to Stretching your Canvas for Painting

Items needed

  • Canvas – Pre gesso’d I have found is the most friendly and is cost effective and consistently good. Cotton is cheapest and good, linen is expensive and tougher to stretch, but its wonderful to paint on with oils, polyflax is synthetic and somewhat new; it is smooth and strong, however it lacks tooth. Cotton is toughest on your brushes, but is good for starters.

  • Wood stretcher bars – I mainly use fredricks, but other brands are similar quality. Make sure they are straight and unwarped/bent. The smaller size is really only good for sizes up to 30″ without the use of cross support. Try to keep consistent with your sizes – 11×14, 16×20, 10×12, 8×10, 12×14, 20×30, 24×30, etc.

  • Hammer – any normal hammer will do. I use an old claw variety.

  • Nails – I use the fredricks copper coated ones as they are easiest on the eye to look at and are good quality. If you plan on doing any quantity of stretching I’d recommend buying them in bulk of 1000s. Staplers can also be used, but personally I don’t like the site of staples and they might rust badly or cause restretching problems down the road.

  • Canvas Stretching Pliers – Its well worth the $20 investment. Initially I used large normal pliers and it was very tough on the canvas because of the focused force on a small spot.

  • Some type of true 90 degree angle – I use a thin book or folder usually.

Fit together the 4 pieces of stretcher bars and cut a piece of canvas larger than the finish size. Eyeball the squareness of the stretchers; don’t worry about it not being exact at this point. I usually leave about 1.5 – 2 inches over each edge. Make sure you start with the gesso’d side away from the wood stretchers; I’ve done the opposite on accident before.

Now that the wood pieces are centered on the canvas go ahead and pull up one of the sides and thumb a nail into it. I usually start on the shorter pieces of wood first. Hammer it in without being overly aggressive, but make sure the head of the nail has contact with the canvas.

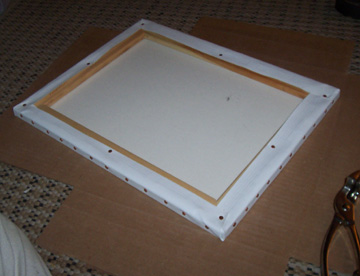
Put one nail in the other side opposite now. Check the stretcher joints to make sure none of been sliding out (see below)

Usually the first couple nails shift the stretchers around as seen in the picture to the right. Don’t worry about this while the nail is going in, but make sure it is all straight prior to starting a nail.

Now using your perfect 90 degree edge make sure your stretchers are true. Its easy to adjust with just 2 nails in, but is impossible with more.

Picture to right shows 1 nail in each side and a diamond pattern can be seen on the top. If my grandfather were here he’d say “you do good work.”

Pick a side to start and put in 2 more nails – about 3 inches on either side of the first. See picture. Do this on all sides. You will notice the diamond pattern getting larger on the top side. Don’t just nail in all the nails on one side and try to skip rotating the canvas.

Here is picture of 3 nails on each side. Be sure to check the stretchers to make sure they aren’t slipping. They will slip all the way up to the end.

Go ahead and continue using the 2.5-3 inch spacing and put in more nails. If the canvas is small you are almost done, but if its very large you’ll have to keep rotating every 2 – 4 nails per side. The top of the canvas should look nice and flat.

Inbetween each nail put in another. I just start on one side and continue all the way around without much concern for order. Stretching pressure is important; you want to be consistent with the pressure you used initially so the edges stay consistently tight. Don’t flex on it.

There are several ways to do the edges that don’t require cutting. See the pictures and play with it a bit until you get the fold over correct. You can fold it under and not use an additional nail.

That bandaid is not from stretching canvas; its from an unrelated carpet tack strip accident 🙂

Fold over the edge and make sure you are consistent with the side you decide on… long end or short end. Its going to add a little to the size of the opening the canvas will fit in.

With your fingers pull the corner up and nail it in. Make sure its tight so your corners don’t bubble out.

Here it is all done; I hope you found good use of this page. Cost is actually a little more than the cheapest of the store bought canvas, but the quality is far better. An 11×14 canvas costs me about $7 to make. Large canvases cannot be purchased and its necessary to make them yourself. Polyflax is just now being offered pre-stretched. When people at the antique road show are looking at your famous paintings they will make note about how you stretch your own canvas. If you have any questions please email me at bryan@whiteheadgallery.com

Back to Learn Page.